Showing posts with label Treats. Show all posts

11.1.13

Cream Cheese Filled Carrot Muffins

When I finished my months of paper-hell I spent the morning watching 4 hours of Tabatha's Salon Takeover while my roommates continued to suffer exam misery. So I decided to bake them a treat and felt like making muffins. These muffins were especially awesome because of the gooey cream cheese filling.


Ingredients
Filling
1 8oz. pkg. light cream cheese
1/4 cup granulated sugar

Muffins
2 1/4 cups flour
1/2 cup granulated sugar
1/4 cup light brown sugar, firmly packed
1 1/2 tsp. baking powder
1/4 tsp. baking soda
1 1/2 tsp. cinnamon
3/4 tsp. ground ginger
3/4 tsp. salt
2  eggs
3/4 cup water
1/3 cup vegetable oil
1 cup grated carrots, (about 2 medium-large carrots)

Directions
1. Preheat the oven to 400°F. Line a muffin pan with paper muffin cups, and grease the cups (strange I know but it actually makes it much easier to eat the muffins).
2. To make the filling, place the cream cheese in a microwave-safe bowl, and heat on low power for 40 seconds. Stir in the sugar and set aside. 
3. To make the muffin batter, in a medium-sized bowl, whisk together the dry ingredients. Stir the wet ingredients into the dry ingredients. Fold in the grated carrots, stirring to combine. 
4. Drop about 2 tablespoons of the batter into each muffin cup, spreading it to cover the bottom. Dollop on a heaping tablespoon of filling and cover with enough batter to hide the filling. The muffins cups will be quite full. 
5. Bake for about 20 minutes. Remove the muffins from the oven, and transfer them to a rack. If you serve the muffins warm, the filling will be molten. If you wait for them to cool, it'll firm up (so I advise microwaving them before eating (about 20 seconds will do)!


Surprise muffins!


6.1.13

White Chocolate Chip Cranberry Cookies

For our family Christmas I made these delicious, soft and chewy cookies. The cranberry/white chocolate combo may be a bit festive but I still think they could be made year round. The blog I got them from emphasized cornstarch, dark brown sugar, and careful baking times to make perfectly soft cookies; however, I didn't have dark brown sugar and my cookies still turned out super soft and chewy.


Ingredients
- 3/4 cup butter, room temperature
- 3/4 cup dark brown sugar
- 1/4 cup granulated sugar
- 1 egg
- 2 tsp. vanilla extract
- 2 cups flour
- 2 tsp. cornstarch
- 1 tsp. baking soda
- 1/2 tsp. salt
- 3/4 cup white chocolate chips*
- 3/4 cup dried cranberries*
*I used a little bit less of each, I found that there was a bit too many pieces compared to the amount of dough 

Directions
1. In a large bowl using an electric mixer, cream the butter and sugars together on medium speed until fluffy and light in color. Mix in egg and vanilla. On low speed, mix in flour, cornstarch, baking soda and salt.
2. Stir in white chocolate chips & dried cranberries.
3. Chill dough (covered) for 30 minutes or up to 3 days.
4. Preheat oven to 350 degrees F. Line a baking sheet with parchment paper or lightly spray with cooking spray.   Drop balls of dough (1.5 tablespoons each) onto cookie sheet.
5. Bake for 8-9 minutes, until barely golden brown around the edges. Do not cook them longer than 9 minutes, even if they look uncooked when you take them out, after letting them cool they will harden up. Remove and let cool for 5-10 minutes on the cookie sheet. Transfer to cooling rack.

After letting my dough cool overnight we had a massive hardened ball of dough.

Bonus: We also made Christmas holly cupcakes using M&Ms and green sugar cookies!

21.11.12

Carrot Cake COOKIES

I'm not sure how much this applies to all of you fellow university goers, however for me and my roommates, November is much worse than October. PAPER SEASON IS THE WORST TIME EVER. Seriously though, studying for midterms is not nearly as bad as having one month to write multiple term papers. It sucks. It also means I don't have time to go out, especially when going out involves drinking and being hungover.

But not being able to go out doesn't mean you can't take writing breaks and my favourite types of break is one that involves the creation of cookies. Someone posted this recipe on Facebook a while ago and all I was thinking was why aren't those in my mouth. So a few weeks ago, me and the roomies had a WILD Friday night and baked these bad boys.

We also decided not to make them sandwich cookies because thats just way too much cookie and not enough icing.


Ingredients
Cookies
1 cup (2 sticks) butter
3/4 cup brown sugar
3/4 cup granulated sugar
2 eggs
1 1/2 tsp. vanilla extract
2 cups flour
1 tsp. baking powder
1 tsp. baking soda
1/4 tsp. salt
1 1/2 tsp. cinnamon
1/2 tsp. nutmeg
1/2 tsp. ground ginger
2 cups rolled oats
1 1/2 cup grated carrots (about 3 large carrots)
1/2 cup chopped walnuts

Cream Cheese Frosting (*this is the recipe from the website I used for the cookies, however, I just threw some ingredients together and added more until it tasted good)
2 stick of butter, at room temp
16 oz cream cheese, at room temp
8 cups icing sugar
1 dash vanilla extract

dat icing
Directions
1. With an electric mixer, beat butter and sugars until light and fluffy. Add eggs and vanilla and beat until well combined.
2. In a separate bowl mix flour, baking soda, baking powder, salt, cinnamon, nutmeg and ginger. Gradually add flour mixture to butter mixture.
3. Mix in oats, carrots and walnuts. Chill dough for an hour.
4. Preheat oven to 350 degrees. Roll dough into balls (this part is messy) and place on baking sheets sprayed with cooking spray. Bake 10-13 minutes. Allow to cool before icing.
5. While your cookies bake, make the icing. Add more icing sugar if too liquidy, or add more milk or butter if too thick.

More photos of our crazy Friday night:

13.9.12

Chocolate Peanut Butter Cup Cookies

Upon returning from Peru I was craving two things: baking and peanut butter. Although I did do some baking in Peru I'm not going to lie I missed the ability to go to a grocery store and get random ingredients for really creative recipes. And peanut butter exists in Peru however its not nearly as popular and thus very expensive. Thus my longtime baking buddy Lia came over and we made some serious noms. 


These photos do not do these cookies justice. Perhaps this will make you understand how good these noms are:

Ingredients
1 1/2 cups + 2 tbsp. flour
6 tbsp. cocoa powder
1/2 tsp. baking soda
1/2 tsp. salt
3/4 stick butter, room temp.
1/4 cup + 2 tbsp. peanut butter
1/2 cup sugar
1/2 cup brown sugar
1 egg
1 tbsp. vanilla
2 tbsp. milk
2 cups chopped peanut butter cups or minis

Directions
1. Preheat oven to 350 degrees and spray a cookie sheet with baking spray.
2. In a medium bowl combine flour, cocoa, baking soda and salt. In the bowl of an electric mixer beat butter, peanut butter and sugars until fluffy. Add vanilla, egg and milk. Add the dry ingredients slowly until fully mixed. Add peanut butter cups.
3. Roll into balls and bake about 10 minutes. Let set for 10 min before transferring to cooling rack. 

Enjoy with some milk :)

25.6.12

Dessert Tacos

I also tried one last recipe before leaving. These were awesome, however we had some trouble making the tacos. Our recipe used sugar cookies but other recipes such as this one recommend using flour tortillas which sounds a lot easier. I’ll give instructions for the way we tried. 

Also the key to making these amazing is using fresh fruit and to making some real whipping cream. They can be served as dessert or a not so healthy but yummy breakfast. 
Ingredients
1 pkg. sugar cookie mix
Cinnamon sugar
Fresh fruit
Whipping cream

Directions 
1. Prepare sugar cookie mix according to directions. Roll into large balls and flatten on a baking sheet. 2. Make sure the cookies are fairly large, you need to be able to fold them in half and fit a fair amount of fruit in them. Sprinkle cookies with cinnamon.
3. Bake according to directions. Immediately after removing them from the oven, drape over some sort of cylinder object. We used aluminum foil rolls. This is where it gets difficult however because our cookies kept breaking. We also tried, as you can see in the photo, to drape between two rolls to stop them from breaking, this sort of worked but still was frustrating. My advice would be not to push to cookies to much because they are very delicate. 
4. While the cookies cool, use a beater to make whipping cream. Beat until the cream becomes thick, this will take a while if you haven’t done it before but it is so worth it. Cut up your fresh fruit.
5. Fill each taco with whipped cream and fruit and enjoy all your frustratingly hard work.


21.6.12

Apple Pie Bars

It has been so long since I have posted, but to be fair, I am in Peru and before coming here I had exams. I've been cooking and baking still, just not posting cause I suck. But being in Peru has somewhat inspired me again because my new friends here love to bake and cook as well. And so, with the very limited ingredients you can find in a rural town in Peru, we've been fairly impressive chefs.

These bars we made just after exams I believe (in our old apartment, in the Tiffany kitchen still) and they were so yummy. They started my new love for skor bits, omg those things are heaven and need to be put in all the things! These bars were easy and were the kind of thing you bake and then eat half the pan with no regrets.

Ingredients 
1 cup vegetable oil
2 cups sugar
3 eggs
2 ½ cups flour
2 tsps. baking powder
1 tsp. Salt
1 tsp. Cinnamon
1 tsp. Nutmeg
3 Granny Smith apples, peeled and chopped
1 cup SKOR chips (or more, do as you feel)

Directions
1. Preheat oven to 350 degrees F and grease a glass 13”x9” baking dish.
2. Beat oil, sugar and eggs for about 2 minutes.
3. In another bowl, sift together flour, baking powder, salt, baking soda and spices. Add to other bowl and beat until completely combined. Fold in apples.
4. Scrape batter into a pan and coat with skor chips. Bake for 45 min. Bars are best served warm.


28.5.12

MOVING! Ft. cookies.

NEW APARTMENT TIMES!
Sorry for being so MIA lately! We really have no excuse. I mean Odessa is in Peru, so I guess she's exempt, but myself and Lizzie (NEW ROOMMATE OMG) have been doing next to nothing for the past month. Summertime is the best!

But we're in our new place! And we brought Audrey.

New crew: Sarah, me (Caitlin), Lizzie, and Odessa (can't get rid of that betch)
Obviously, to christen our new environment, we had to bake something. We made these amazing cookies from my favourite restaurant in Victoria, BC, Rebar.

They're supposed to be made with apricots and walnuts along with chocolate chips (also AMAZING), but we decided to sub for coconut (and of course still chocolate chips).
Ingreds
-1/2 c butter
-1 1/2 c brown sugar
-2 eggs
-2 tsp vanilla
-1 1/2 c flour 
-1 1/2 tsp baking powder
-Pinch of salt
-1 c chocolate chips
-1/2 c unsweetened coconut

Cream butter and sugar, then add the rest of the wet ingredients. Mix dry ingredients and then combine these with the wet. Spoon the dough onto lined baking sheet (it will be messy). Bake for about nine minutes at 350 c and be sure not to overcook because they taste much better when slightly undercooked. 
NOMS.
Hope everyone's having the best start ever to summer!!! 
xx Caitlin

1.3.12

Chocolate Chip Cookie Dough Brownies

As you can tell we have a thing for brownies. And since we have vaginas, we also have a thing for cookie dough. Someone else decided these things should be combined, and as we have seen before, combining things with brownies has never gone wrong.

Thus, we have another epic-ly delicious, but not so epic-ly made (I made them alone while watching a crappy chick flick on Netflix) brownie recipe. So, eat your heart out and heavenly taste of the perfect brownies combined with raw cookie dough (no egg=no guilt!).

I got the idea from here, however I used the brownie recipe from Fry's cocoa powder because we at Ste. Famille have decided that no brownie recipe can compete.


Ingredients
Brownies:
1 1/3 cups all-purpose flour
1 tsp. baking powder
1/2 tsp. salt
1 cup butter
1 cup cocoa powder
2 cups sugar
4 eggs
1 1/2 tsp. vanilla

Cookie Dough:
3/4 cup butter
3/4 cup brown sugar
3/4 cup sugar
3 tbsp. milk
1 1/2 tsp. vanilla
1 1/2 cups all-purpose flour
1 1/2 cups mini chocolate chips

Directions
1. Mix flour, baking powder, and salt in a bowl.
2. Melt butter in a large saucepan on medium heat. Remove from heat. Stir in Fry's Cocoa. Blend in sugar, eggs, and vanilla. Blend in dry ingredients and chopped nuts.
3. Pour batter into greased 13x9" pan. Bake at 350 degrees F for 30 to 35 minutes (do not let them burn!).
4. In a medium bowl, use an electric mixer on medium speed to combine the butter and both sugars. Add the milk and vanilla. Reduce the speed to low and mix in the flour just until combined. Using a rubber spatula, stir in the chocolate chips.
5. Let brownies cool completely before adding the cookie dough. I found it a bit tricky so I rolled the cookie dough out in sections on the counter, added the sections on top of the brownies, and pressed them together with my hands. Place pan in the fridge for at least an hour before cutting. Brownies can be stored either in the fridge or at room temperature.


26.2.12

THE BEST SUGAR COOKIES EVER MADE

Ok so I know we already have a sugar cookie post on here. Those are delicious no lie, but they are just your run of the mill cookies. These are amazing. These cookies will have people telling you to drop out of school and start a bakery I swear. These cookies are so light and fluffy they are addictive.

I made them last Christmas, but decided not to blog about them because I wasn't ready to share my secret with the world. But now its out: you need an electric mixer. This recipe is essentially just a regular sugar cookie recipe however after each step you need to beat them to incorporate air. That is what makes them so different. So simple! So sneaky! So scrumptious!

We made them for Valentine's Day  Eat-Your-Feelings-Day!
Ingredients
4½ cups all-purpose flour
4½ tsp. baking powder
¾ tsp. salt
1½ cups butter, room temperature
1½ cups sugar
3 eggs
5 tsp. vanilla extract

Frosting:
5 cups icing sugar, sifted
1/3 cup butter, melted
1 tbsp. vanilla extract
7-8 tbsp. milk
Food colouring
Sprinkles

Directions
1. In a medium bowl combine the flour, baking powder and salt, and whisk together to blend. 
2. In the bowl of an electric mixer, combine the butter and sugar and beat together on medium-high speed until soft and fluffy, about 2-3 minutes. Beat in the eggs one at a time. Blend in the vanilla. 
3. This is where it gets messy. Add in dry ingredients in parts and mix with the electric mixer on low speed. Cover and chill the dough for 1 hour.
4. Preheat the oven to 350 degrees F. Line baking sheets with parchment paper. Roll the dough into evenly sized balls and flatten slightly on the prepared baking sheet. Bake about 10 minutes or just until set. Do not overbake! Overbake cookies are not fluffy! The edges should be no more than very lightly browned if at all. 
5. To make the icing, whisk together all the ingredients until smooth. Add in either milk or icing sugar until desired consistency is achieved. Frost the cookies once they are completely cooled.

Look at that drip.
Oh and you may have noticed this recipe makes A TON of cookies. But don't worry, they will all be eaten within a few days. All you need are some friends who have a lot of feelings to eat.


22.1.12

Desperate Housewife Bars

What is a Desperate Housewife Bar? Long story short, they are the most delicious bar-shaped food in the history of humanity. They come from this adorbs little restaurant in my hometown called the Rocky Mountain Cafe. When I was home, my home friends and I decided it was necessary that we try to emulate the recipe!

So, we made something up using different recipes for the brownie base, raspberry cheesecake middle, and chocolate ganache layer. And it was a DELICIOUS success.
This was our prototype
For the brownie base, we used the Fry's Cocoa brownie recipe:
1 1/3 cups all-purpose flour
1 teaspoon baking powder
1/2 teaspoon salt
1 cup butter
1 cup cocoa, Fry's 
2 cups sugar
4 eggs
1 1/2 teaspoons vanilla

Melt butter in a pot on the stove on a medium-high and then stir in the cocoa and sugar. Once all have dissolved together, remove from heat and add the other ingredients. Pour it all into a greased 9 x 13 casserole dish or baking pan, and set aside to make the cheesecake mixture.

We ended up not using the whole base mixture because we were worried it might be too tall, but I would say for next time we would dump it all in. 


For the raspberry cheesecake layer, we used this recipe:
16 oz. cream cheese, softened
2 eggs
1 cup sugar
1 tsp vanilla extract


Mix all of that with an electric mixer until thoroughly blended, then pour on top of the brownie mix. Then, sprinkle fresh or frozen raspberries throughout the cheesecake layer. 


Bake this at 350 degrees F for about 30-45 minutes; you might just have to watch it and wait until an inserted toothpick comes out clean.

While that is baking, make some chocolate ganache to top. We made some from this recipe, but doubled it:
1/2 cup whipping cream
3 oz chopped dark chocolate


Bring cream to a boil in a pot on the stove, and then pour hot cream over chocolate in a bowl and let sit until everything is melted. 


When the cheesecake brownie part is fully cooled, top it with the ganache, and then place in the refrigerator until fully set. 
You're welcome.

11.1.12

Apple Cinnamon Muffins

What to do on New Year's Day? Everyone is hungover and everything is closed. I decided to have a Dexter marathon and bake something although I was pretty limited in baking options since I couldn't grab anything at the store. I found this recipe which was easy, yummy and you most likely have all the ingredients in your house!


Ingredients
Muffins:
2 cups flour
1 cup sugar
3 tsp. baking powder
1 1/2 tsp. cinnamon
1/2 tsp. baking soda
1/2 tsp. salt
2 eggs
1 cup sour cream
1/4 cup margarine
1 1/2 cup chopped, peeled apples
Topping:
1/4 cup sugar
3 tbsp. flour
1 tsp. cinnamon
2 tbsp. margarine
1/4 cup oats

Directions
1. Preheat oven to 400 degrees F.
2. Combine all of the ingredients for the muffins in a large bowl, starting with the dry ingredients. Pour batter into paper muffin cups or a greased baking muffin pan.
3. For the topping, combine sugar, flour, cinnamon and oats. Cut in butter until the mixture resembles coarse crumbs. Sprinkle over each muffin.
4. Bake 20-23 minutes. Cool, but these are delicious if served warm!

9.1.12

Three Words: Caramel, Pecan, Chocolate

Before the holidays I made these amazing caramel chocolate pecan bars for a friend (they were very hard to part with) and when I got back home I wanted to make something similar for my holiday party with my friends. However one thing I found was the bars were a bit difficult to cut, so I made these little turtle tarts which were equally delicious. Both recipes are amazing and extremely sweet, the bars are probably easier to make however the tarts are so cute looking!

First, the bars:
Ingredients
Crust:
2 cups flour
1 cup brown sugar
1/2 cup butter, softened
1 cup pecan halves
Topping:
2/3 cup butter
1/2 cup brown sugar
1 cup semisweet chocolate chips

Directions
1. To make the crust, combine flour, brown sugar, and butter until mixture resembles fine crumbs. Press into the bottom of an ungreased 9" x 13" baking pan.
2. Gently press pecans evenly over the top of the crust and set aside.
3. In a saucepan over medium heat combine butter and brown sugar. Stir constantly until mixture begins to boil, continue stirring to ensure it doesn't burn to the bottom of the pan. Allow to boil for 1 minute then immediately pour over crust and pecans.
4. Bake 18-20 minutes until caramel layer is bubbly. Don't overbake!
5. Once you take the bars out of the oven sprinkle with chocolate chips while they are still hot so the chocolate melts. Use a toothpick to swirl the chocolate over the crust.
6. Cool in fridge completely before cutting into bars.

mmm caramellll
Second, the tarts:
Ingredients
1 Betty Crocker Sugar Cookie Mix
One egg and the butter required for the mix
3/4 cup semi-sweet chocolate chips
About 3 cups of caramels, unwrapped
1/3 cup whipping creme
1/2 cup pecan halves

Directions
1. Make dough according to package directions. Roll into 1 inch balls and press into the bottom of mini muffin cups. This is where this recipe gets time consuming, you need to make sure you don't use too much dough in each cup but make sure there is enough dough to go up on all the way on the sides.
2. Bake 8-9 min. When the tarts come out of the oven they will have completely filled the cups, the directions said to use the back of a wooden spoon (I used the back of a pen which I washed) to press the dough back down. Bake for another 2 minutes.
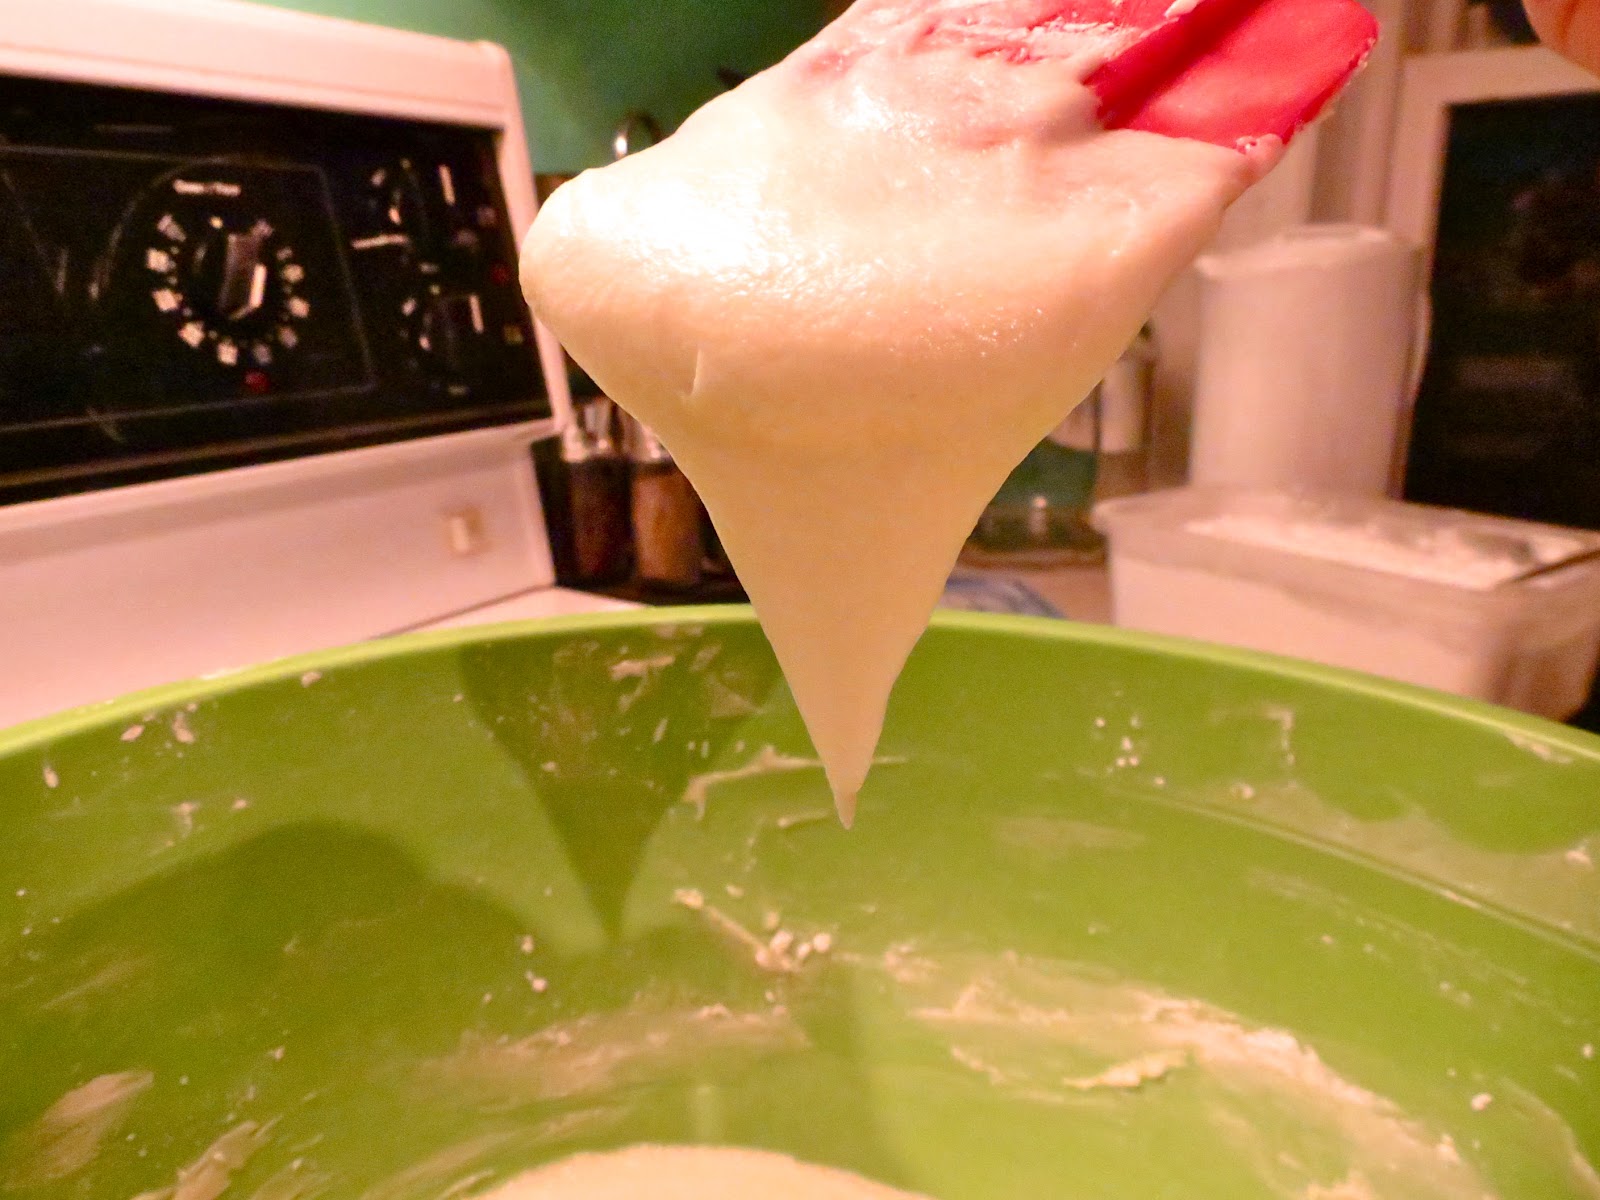
3. While the tarts are baking place caramels and cream in a small saucepan and cook over medium heat, stirring constantly to avoid burning. Reduce heat to low (or remove from heat if you are afraid of it burning, you can always reheat if the caramel begins to harden).
4. Once tarts have finished baking place 3-4 chocolate chips in each. Fill each cup with caramel and top with a few pecans. Let tarts cool before removing from pans (I removed them before adding caramel so I could make more).


And there you have it, two amazing recipes combing three delicious ingredients.

9.12.11

Peppermint Kiss Cookies

I've been dreaming about these since I found the Hershey's Candy Cane Kisses at Shopper's. And since I had a vision, I kind of had to create my own recipe, as none of the others on the web seemed right. So, I used this base from the Hershey's website, and just replaced the chocolate kisses with Candy Cane.

They came out wonderfully, but if I were to make them again I might experiment with adding crushed candy cane to the dough, so if you do make them and are feeling adventurous, do that, and tell us how it goes!
Ingredients:
-1/2 cup softened butter
-3/4 cup white sugar
-3/4 cup brown sugar
-2 eggs
-1 tsp vanilla
-1 tbsp milk (i used almond milk)
-2 1/4 cup white flour
-1/3 cup cocoa powder
-1 tsp baking soda
-1/2 tsp salt
-1 cup chocolate chips
-1 back unwrapped Hershey's Candy Cane Kisses to top
Directions:
-Pre-heat oven to 350 degrees
-Mix dough, roll into golf-ball sized balls, place on a baking sheet, and press down the center of each with your thumb, just a little bit.
-Bake for 10 minutes or so, and then immediately place kisses in the center of each cookie.
-If you want them to harden while keeping their shape, put they trays in the refrigerator to cool, but also eat one like 5 mins after they come out because the Kiss will be melty and AMAZING.
Caution: these are the best cookies you will ever make and you may eat like 3 of them. Plan to go for a run that day...

8.12.11

Christmas Light Cupcakes

This is another one post where I am bragging about my Cake Boss skills. Turns out my roommate Caitlin is an equally great assistant in turning the kitchen into an icing-coated sprinkle-covered mess as Amy was in Newmarket!

I have wanted to make these cupcakes ever since I bought the coolest cupcake decorating book ever in August. However when I looked at them in August I thought it would be a breeze, oh how living in Montreal can complicate everything!!! It took me 5 trips to various grocery stores to finally find all of the ingredients. No joke. I went to Provigo, Metro, IGA, Uniprix and Walmart. If you want to make these, I would say just go to Walmart, they had the biggest candy selection and is the ONLY PLACE in Montreal that carries coloured sprinkles (WTF?).


I can briefly go over what to do but I just recommend buying the book. First you bake the cupcakes and let them cool. While waiting cut graham crackers into the shape of the bulb. Ice the cupcake and place the cracker on the icing. Cover the graham cracker with icing and smooth it to make a flat surface. Dip each light in a different colour of sprinkles.

The worst part: the string. I couldn't find green rope licorce so I had to use sour candy stuff which was not nearly as bendy. I used a knife to carve three holes in the jujubes: top and both sides. Stick a pretzel in each top and stick the green candy in each side. The awkward part: arrange the cupcakes as you want them because after this they are pretty much impossible to move, then insert the pretzel in each end of the cupcake. To make the very cute plug at the end use a bigger jujube and two pieces of excel gum!
I really like my plug :)

We arranged them around the food table.